Adding a new user ID login to your Verofy® Move
This page shows you how to add a user to your Verofy® Move, in case you want to create a seperate user login for your staff.
- To add a new user, you need to start by logging in with your Supervisor login. Contact us in app or via call if you don't know the supervisor login.
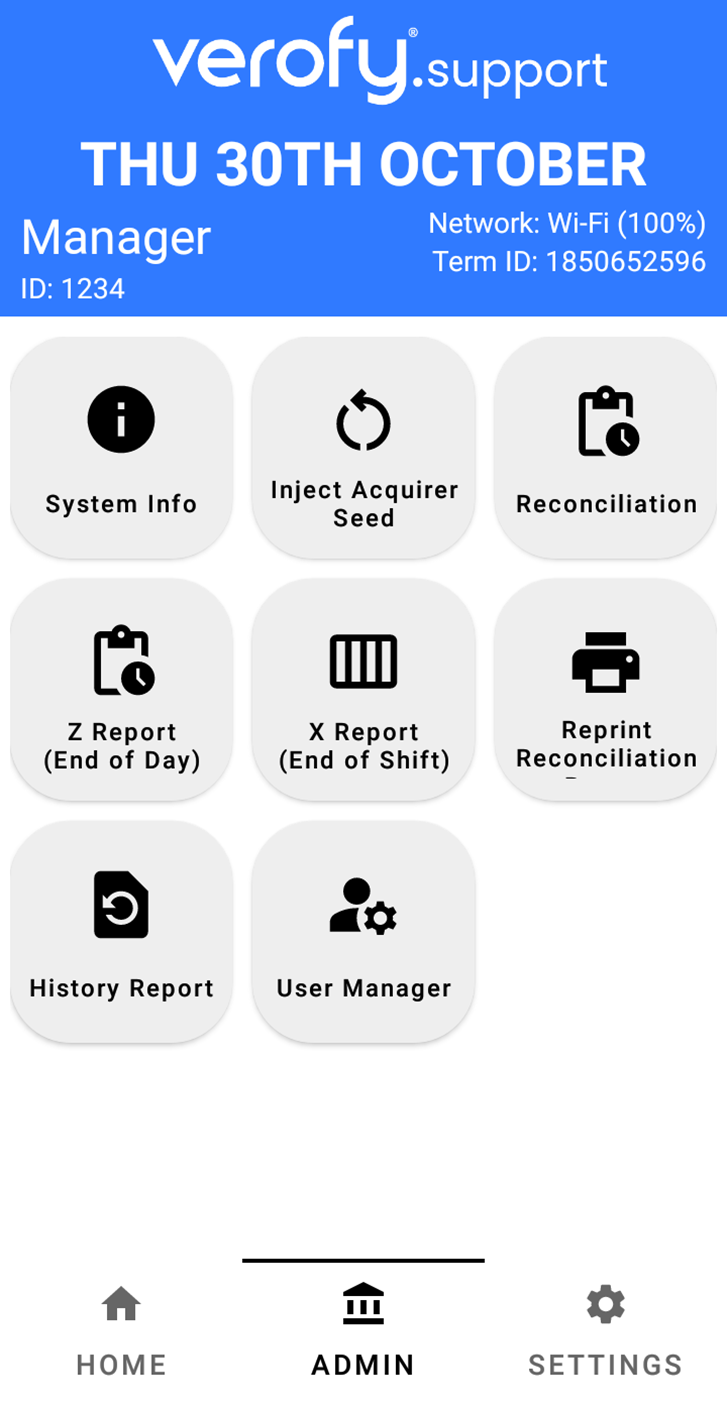
- Click the Admin menu from the bottom of the screen, and select the User Manager option.
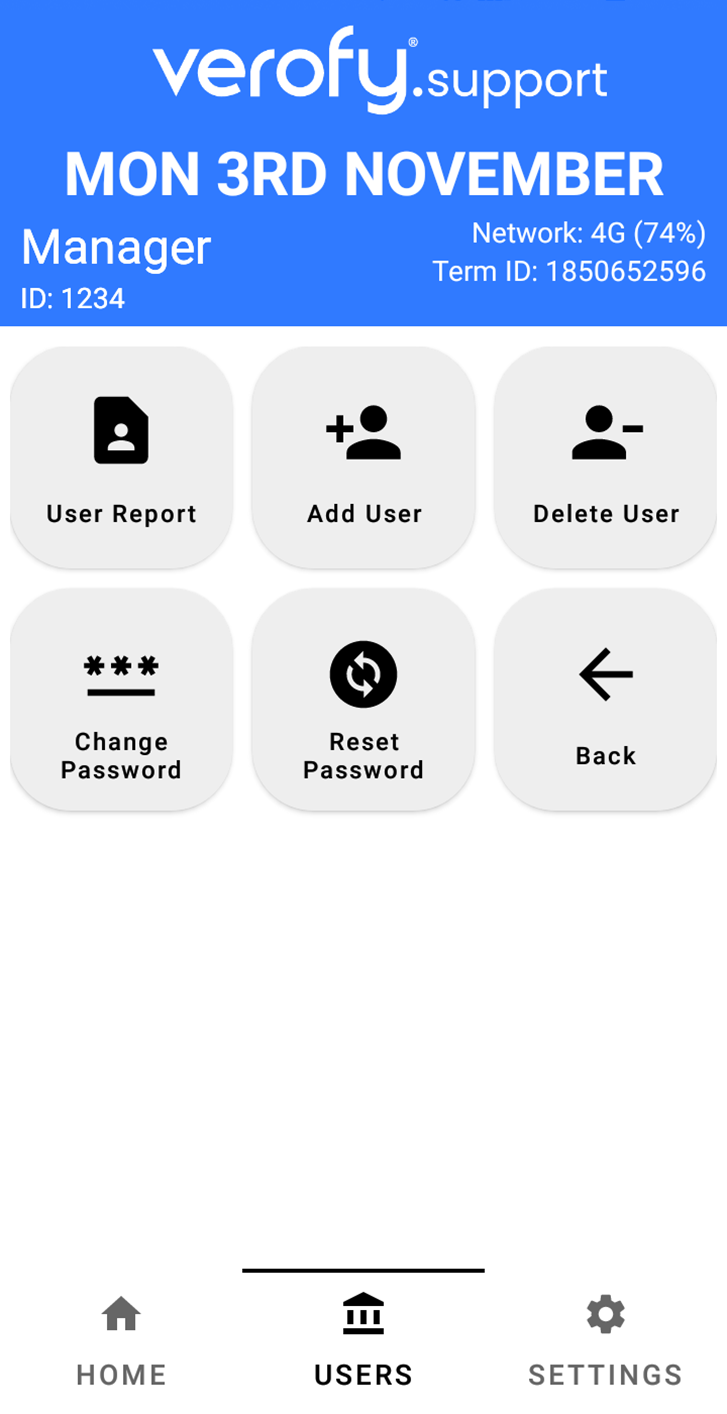
- From the users menu, select Add User.
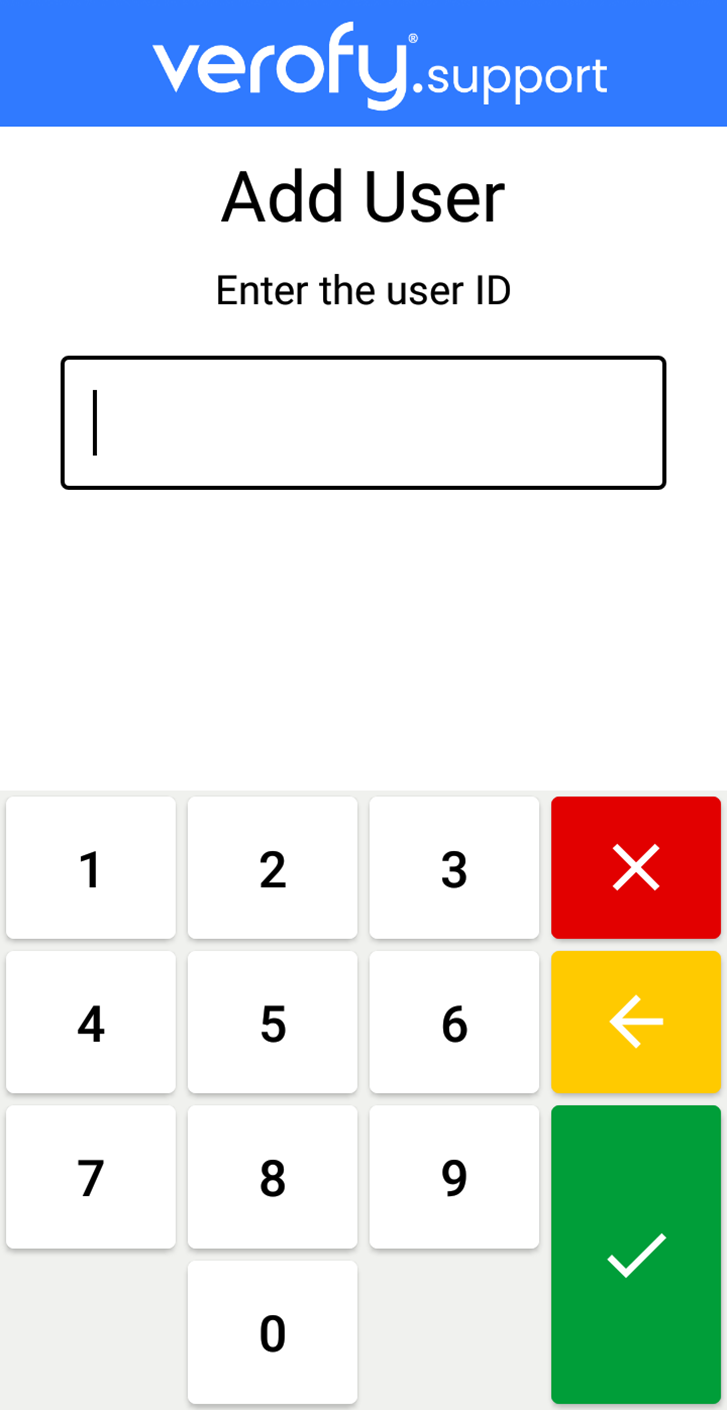
- Enter the User ID you wish to use for the new user. This should be 4 digits long. Once you've entered this, press the green tick.
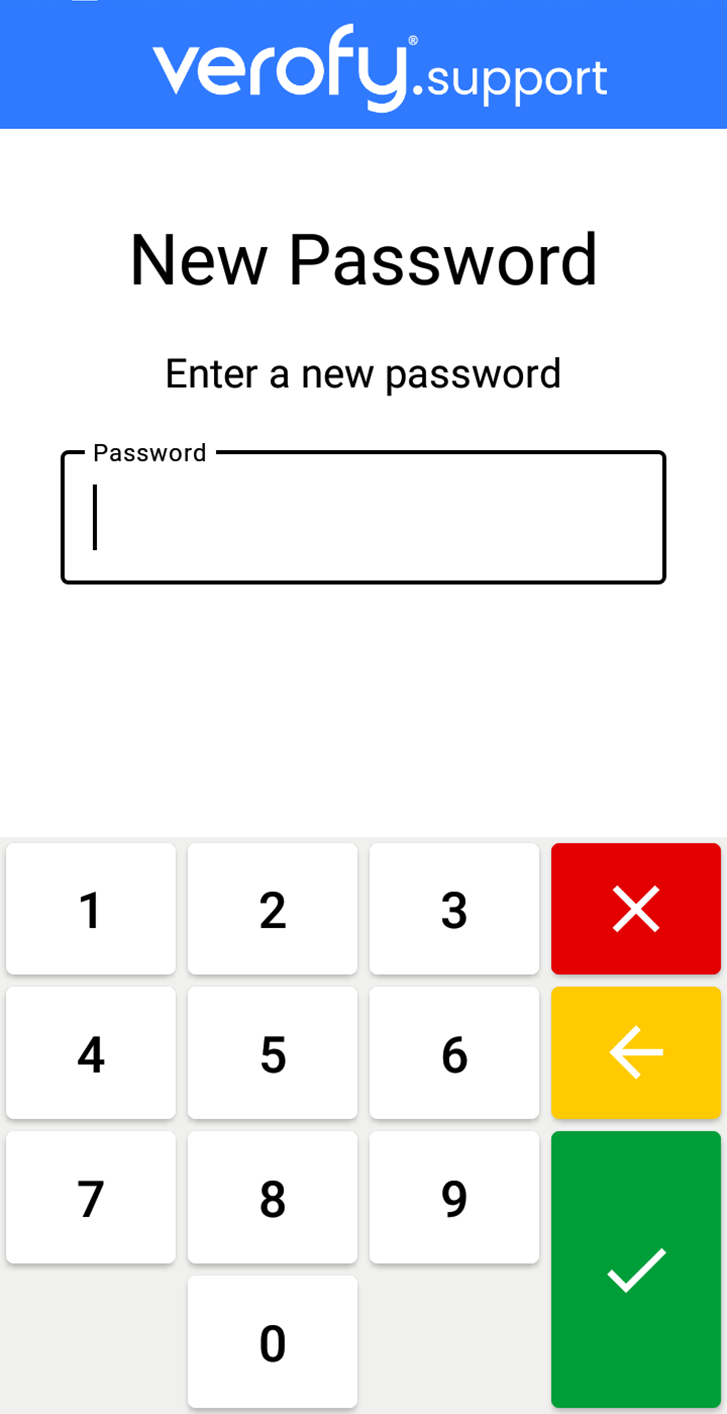
- Next, you'll need to set a temporary password for the first time login. Once you've entered this, press the green tick.
- You'll then need to re-confirm the temporary password. Once entered, press the green tick.

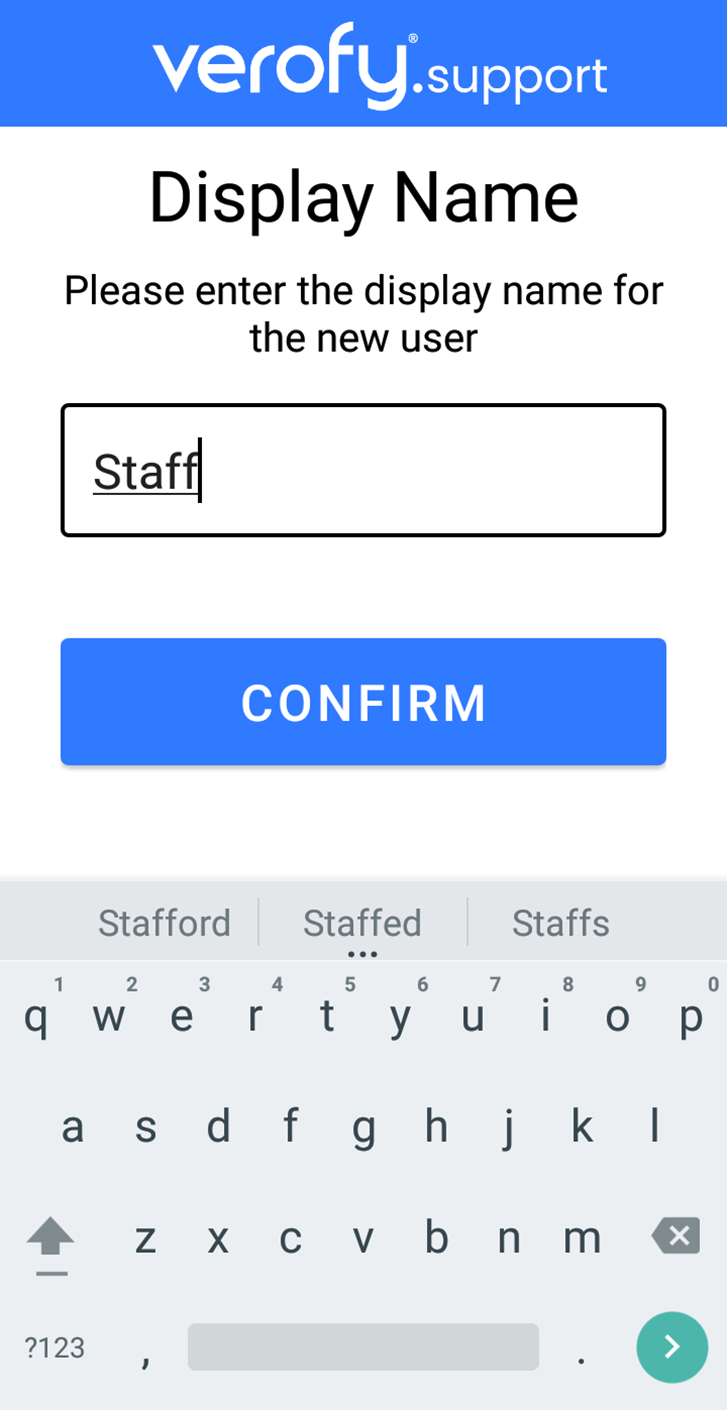
- Once you've set the temporary password, you'll need to decide on a display name for the user. If the user ID being created is for your staff for example, you could name the user 'staff'.
- You'll then be asked if you want this user ID to have supervisor permissions. If you select no, the user won't have access to Z reports or reconciliation report options, or the user mananger. Refunds require a supervisor login to proceed no matter what level of account a user has.

- You'll then see the green tick to confirm if the user has been set up successfully. To test if the user ID is working, log out from the supervisor user login by clicking Settings menu, then select User Logout.

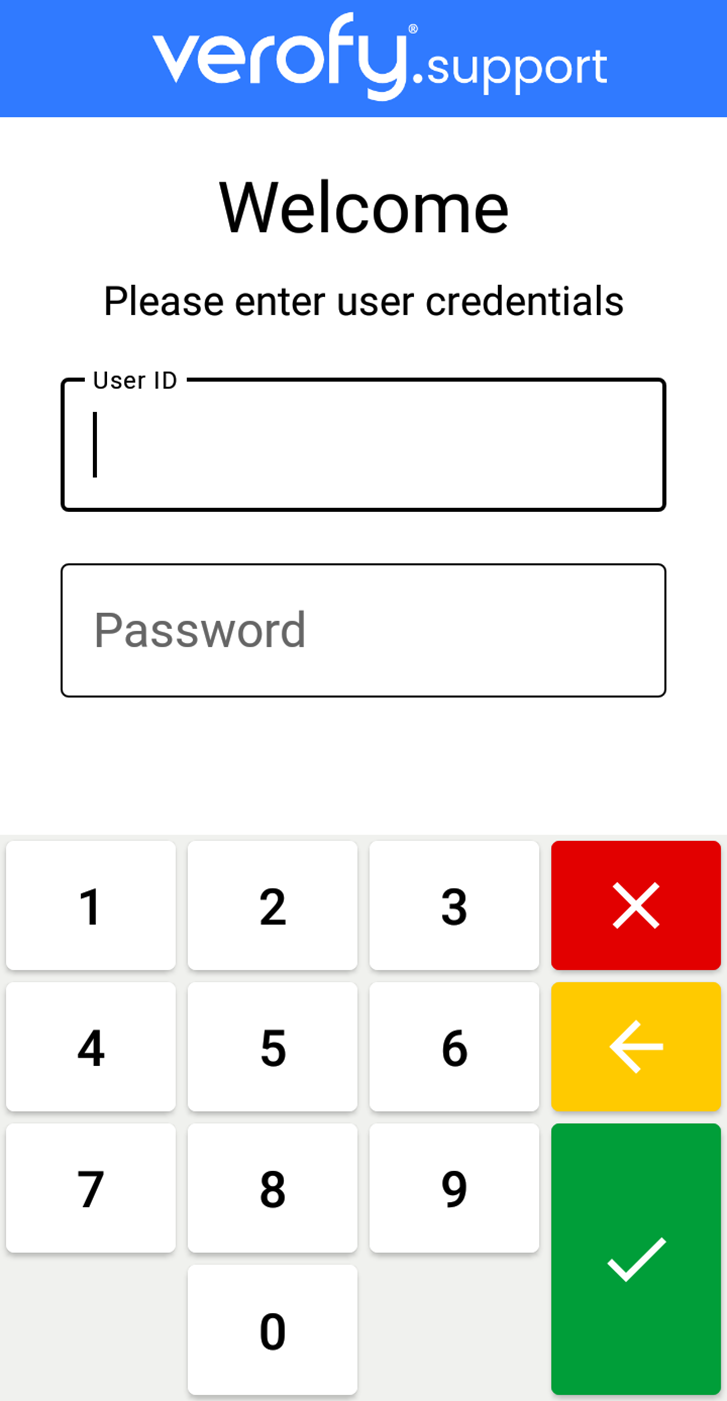
- Log out of the Supervisor login by clicking into Settings, then Exit App. Log in with the new user ID logins you created. Press the green tick to continue.
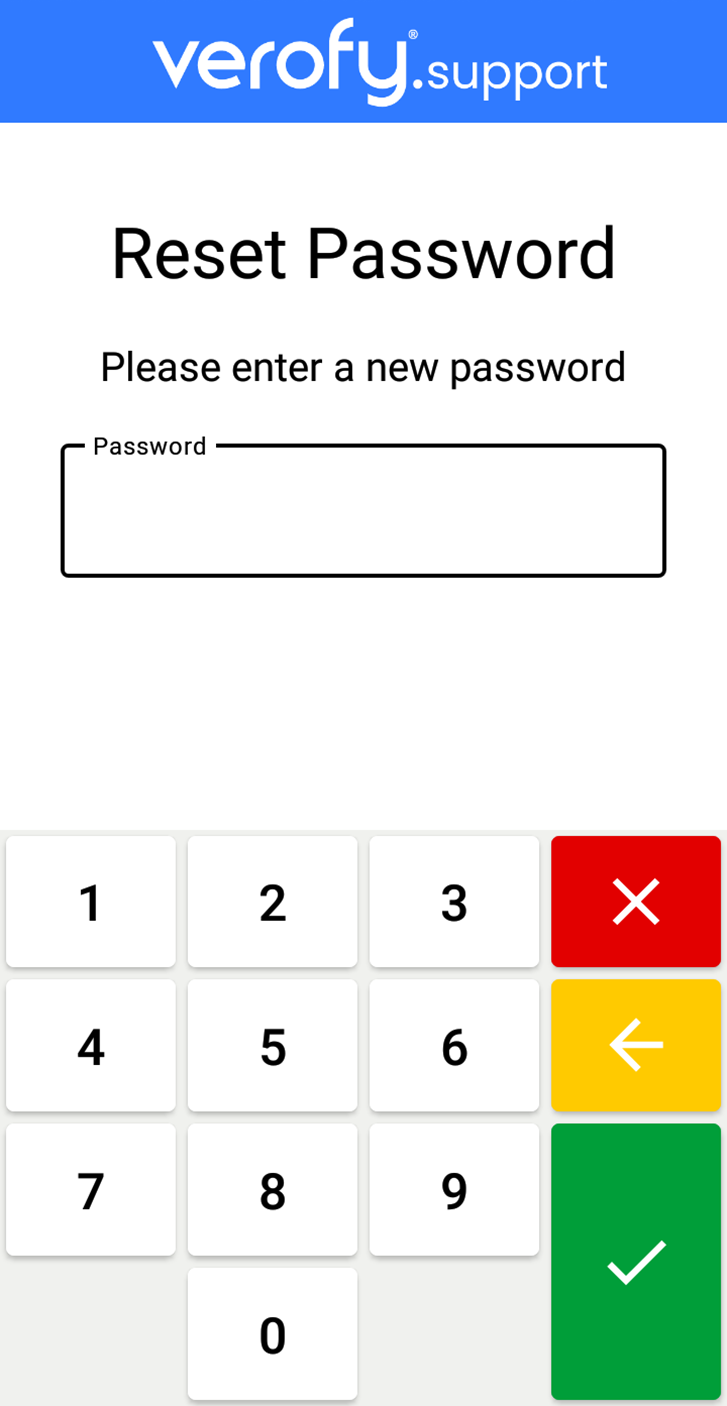
- You'll be prompted to enter a new password. Choose a different one to the one you entered earlier. Press the green tick once you've entered this.
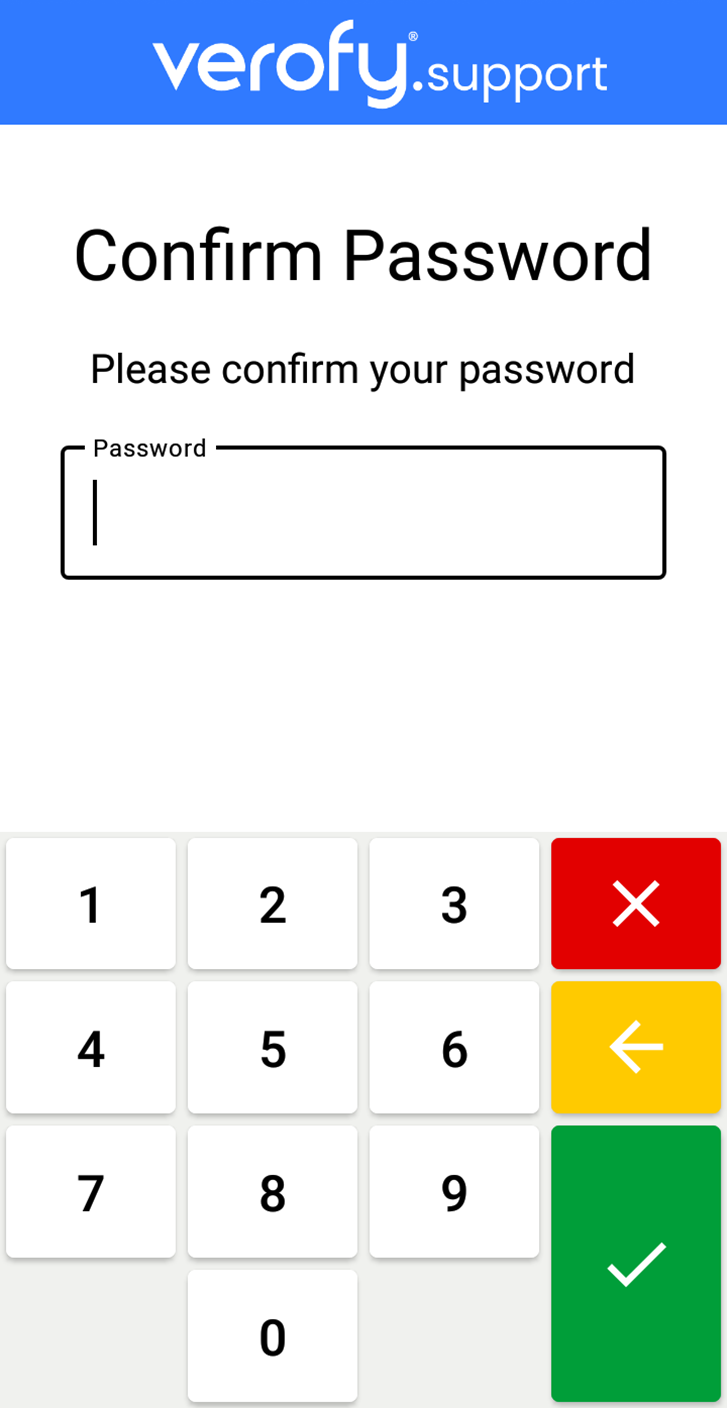
- Re-confirm the new password by entering it again.
Once you've logged in, the user is ready for your staff to use. Share the user ID and password with the users you want to use that login and that's it!