Adding the APN
This page shows you how to set up the APN settings for the SIM in your Verofy® Move, if it's not showing in the list.
-
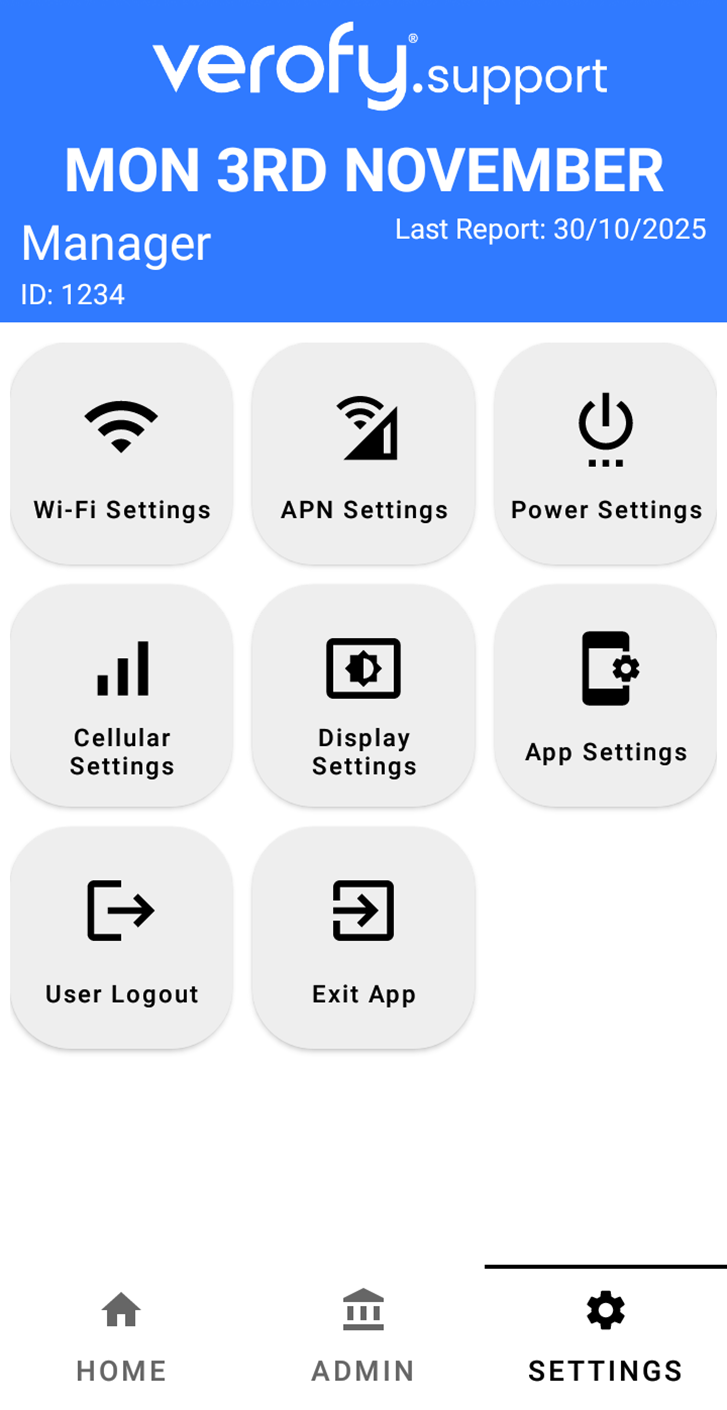
If you've already located the Access point names menu, skip to step 4. If you've not located the menu yet, head to the Settings menu from the start up screen and find the Celluar Settings option.
Please note - the Celluar Settings option you'll need might be situated in a different place in the Settings menu to the below guide if you've not already logged into your Verofy® Move.
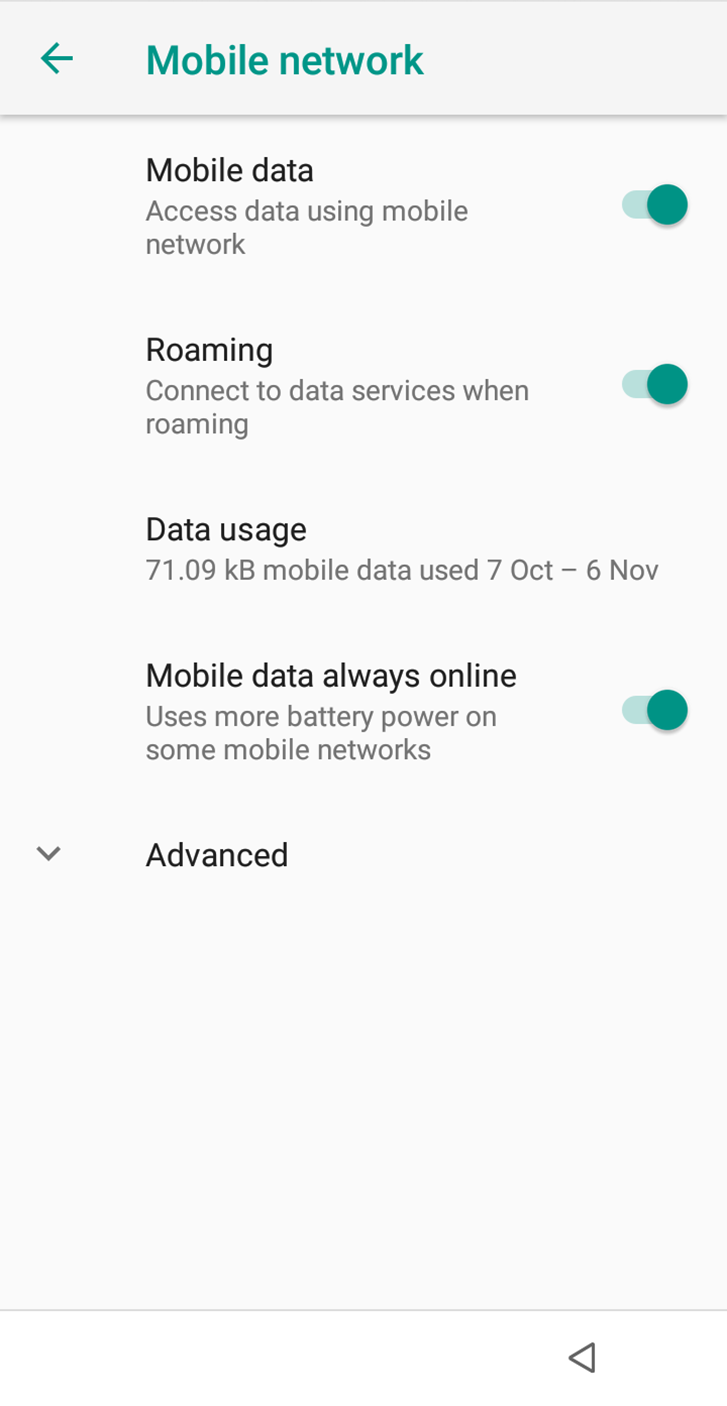
- Once you've done this, you'll see the Mobile Network screen. Ensure that the options are toggled on as follows. Once you've checked this, press the drop down arrow to expand the Advanced options.
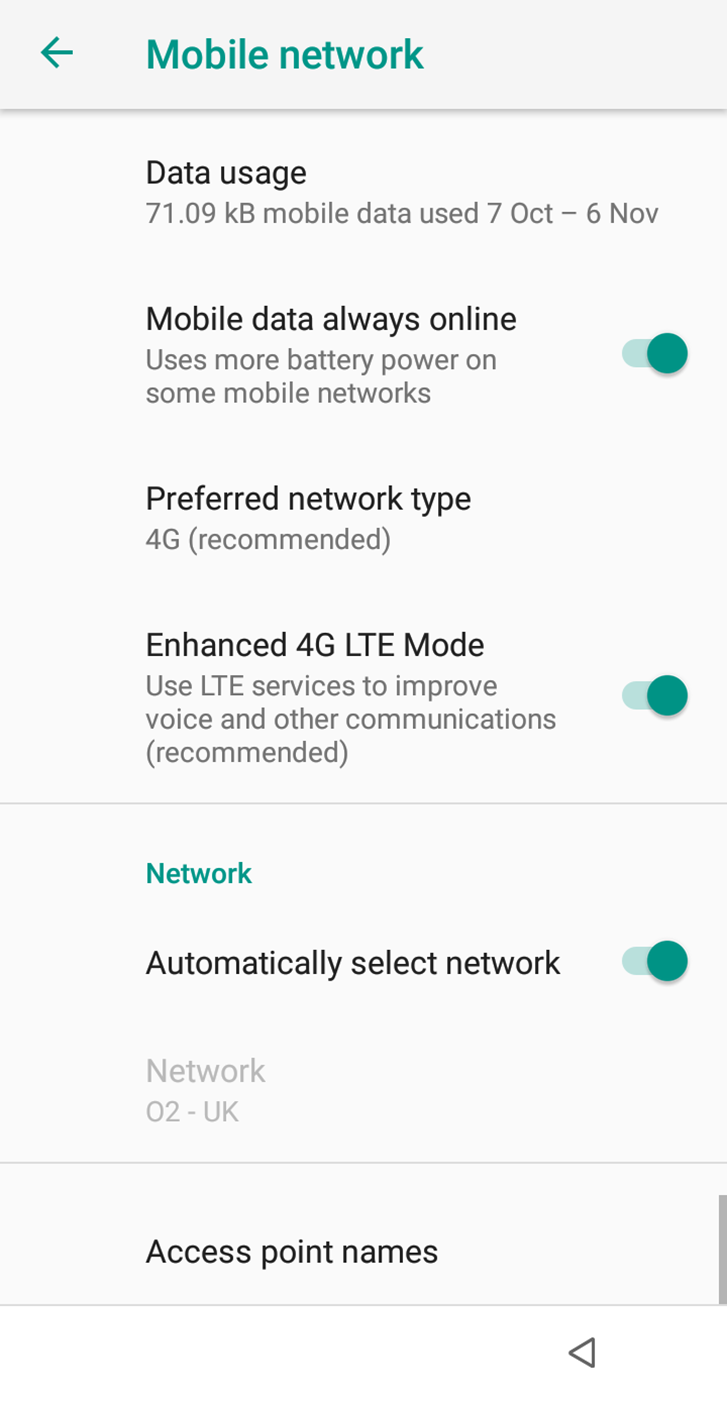
- Once you can see the Advanced settings, scroll to the bottom of the page and select Access point names.
- You'll see a list of the Verofy® Move's default APNs. To add the APN you need, select the green + in the top right hand corner of your Verofy® Move.

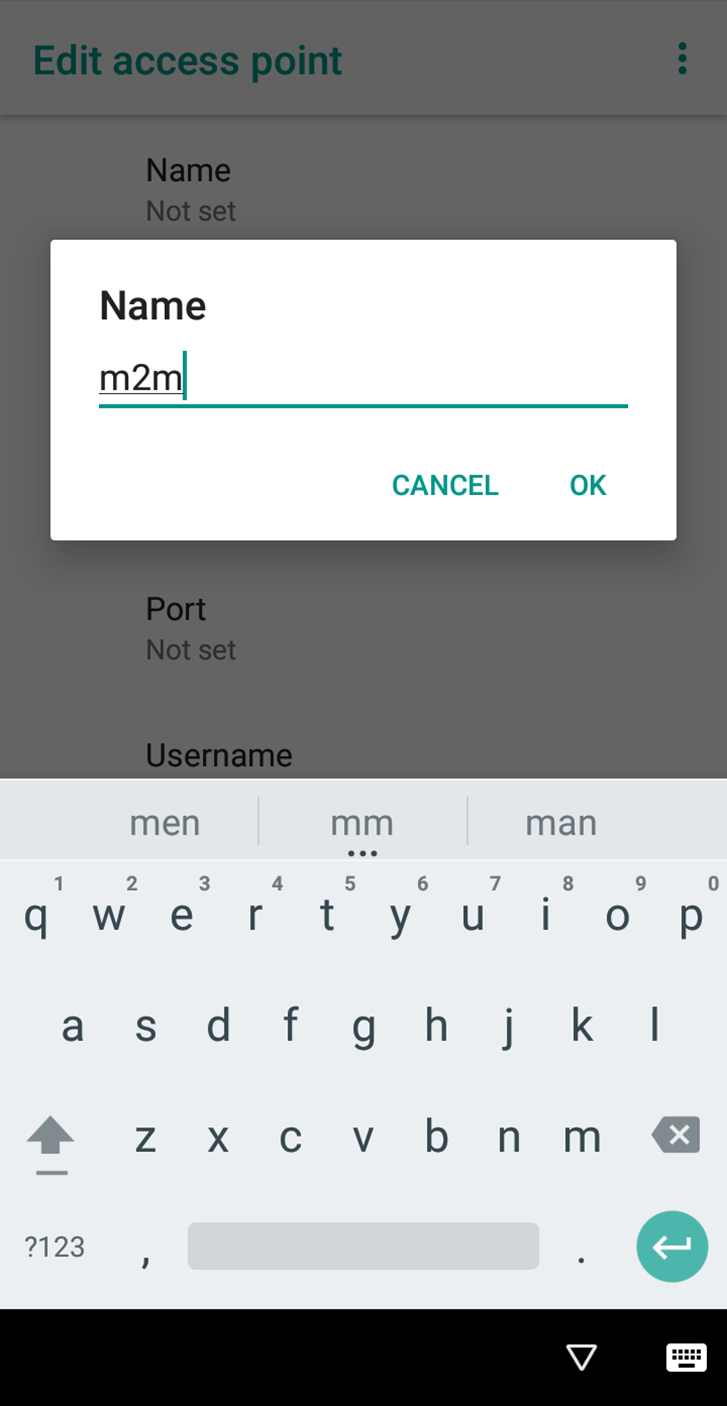
- You'll then see the Edit access point screen.

- Select the Name field and enter m2m. Press ok and you'll see the Name field has updated.
- Select the APN field and enter m2m.tns.prod1. Press ok.
Once both are added, the Edit access point page should look like this.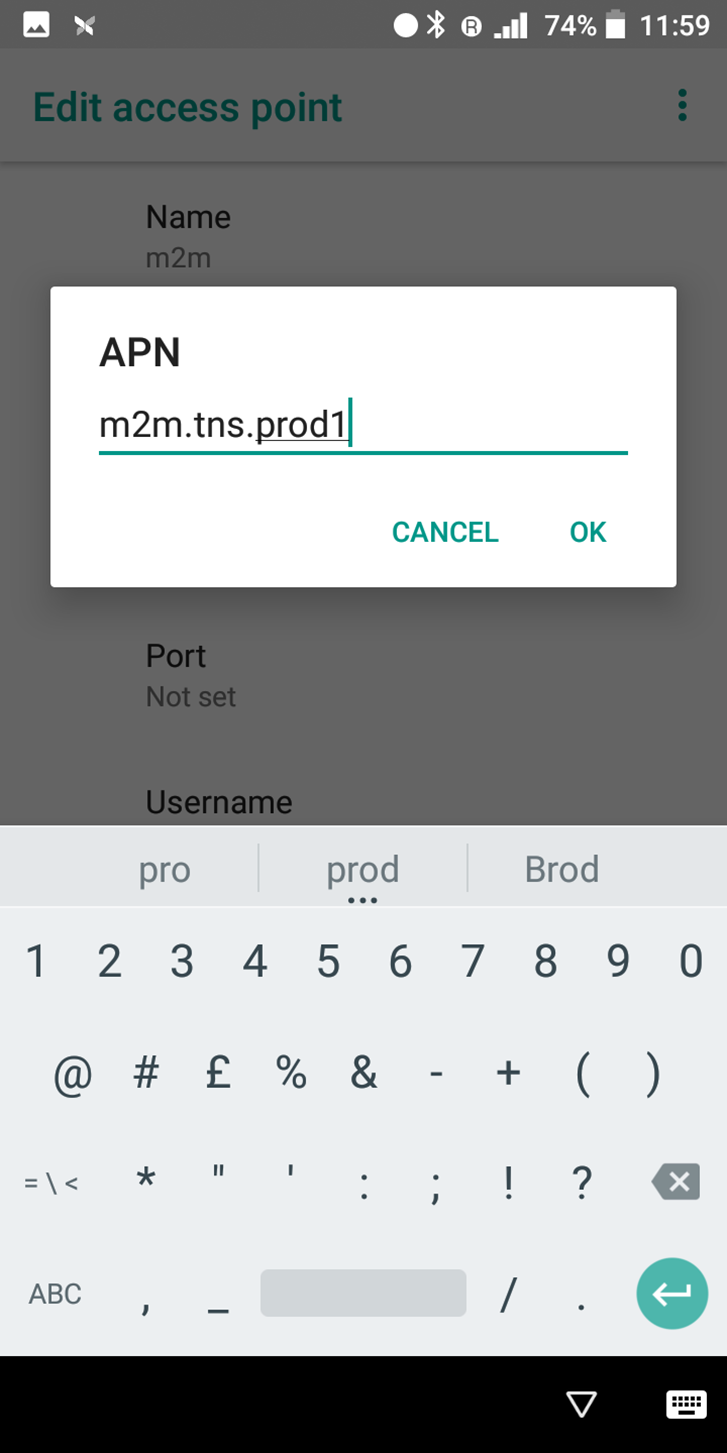

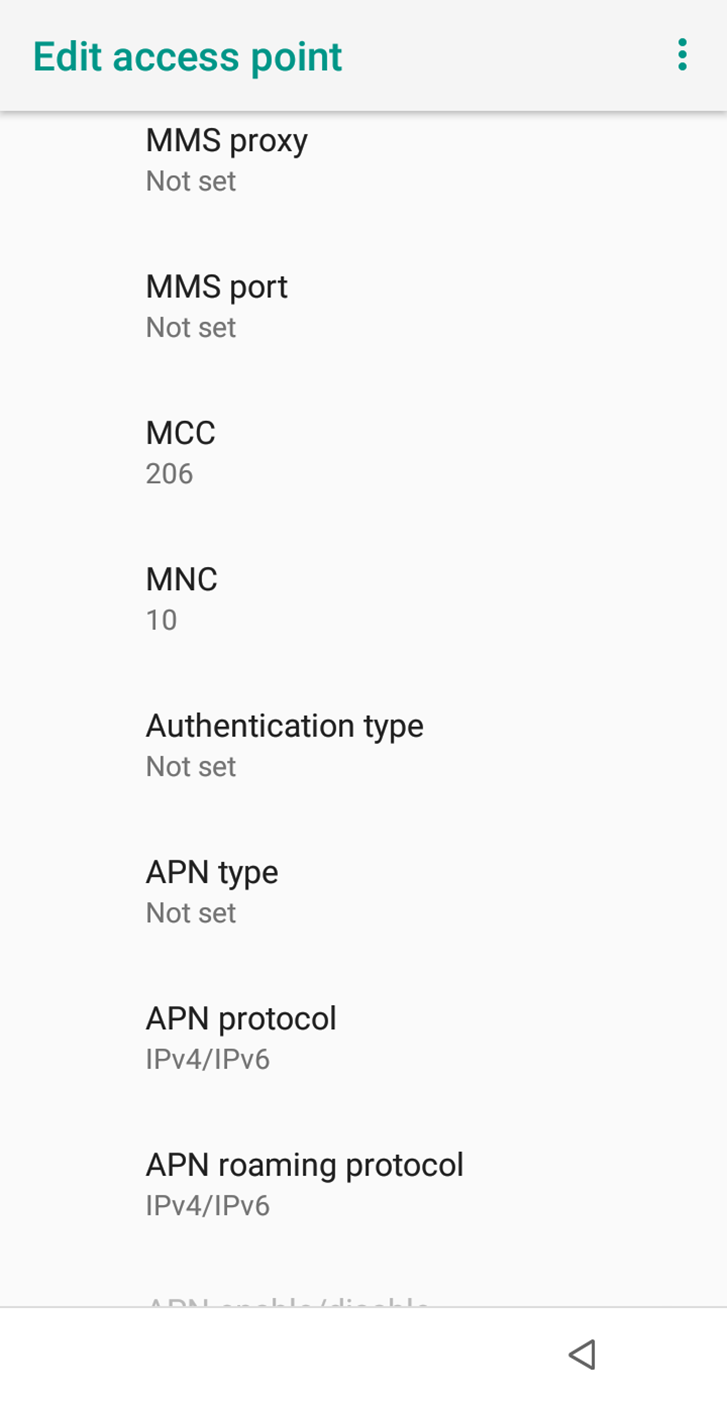
- Scroll down the page until you see the MCC and MNC fields - they should be pre-filled as shown below (MCC = 206, MNC = 10).
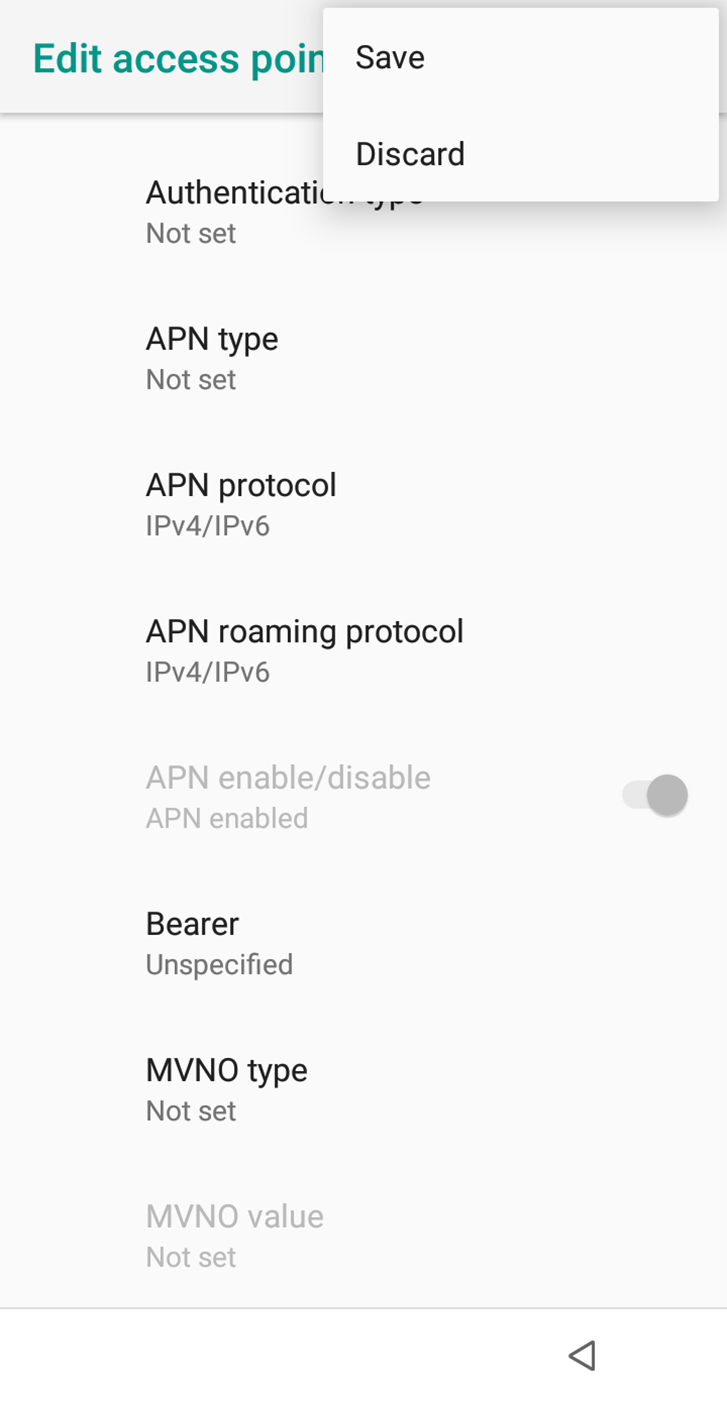
- Once this is done, select the three vertically alligned dots in the top right of the Verofy® Move screen (this icon is visible in the screenshot above). You'll see two options - press Save.
- The Verofy® Move will return to the available APN list, and this time, you'll see the correct APN you need to connect to. Select it to toggle it on (when toggled on, the circle shows green - like in the example below). To get back to the main menu, press the triangle in the bottom right hand corner of the screen.

- Once you've done this, you should be successfully connected. If you want to be sure, click here to find out how to check your connection.
That's it! You've successfully added the APN.